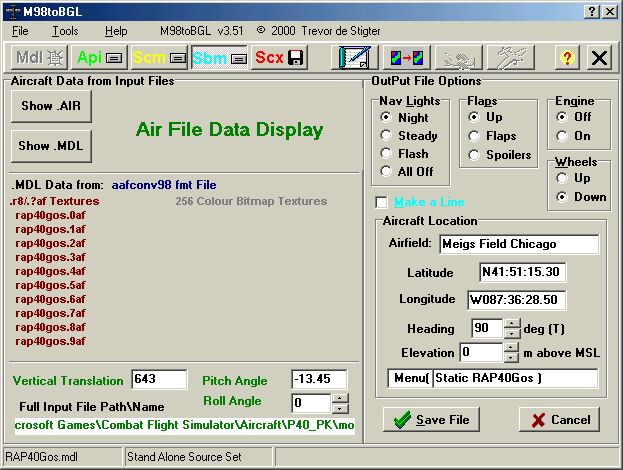
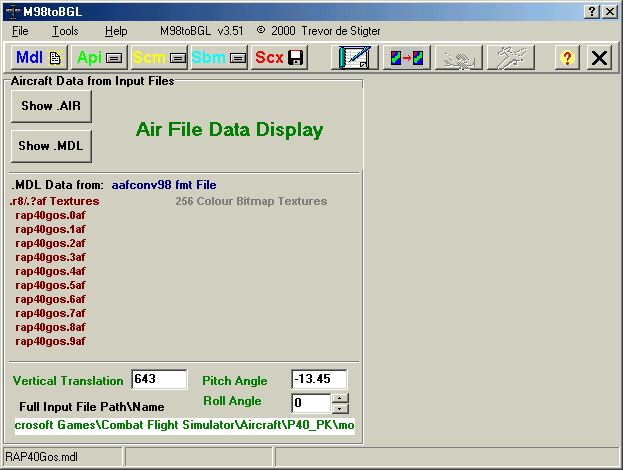
Start M98toBGL & click the Mdl button. Find PK_P40 in the CFS Aircraft folder & open the Model folder.
Select RAP40Gos.MDL & click Open. Now select P40_PK.air & click Open. This is what you should see.
|
Creating aircraft macros with M98toBgl This example will place an extra line of 3 P-40 aircraft on the runway at Tangmere in CFS1 |
|
|
| IMPORTANT: M98toBGL
USES THE STANDARD DEGREES,MINUTES AND SECONDS CO-ORDINATES. BY DEFAULT CFS USES DECIMAL DEGREES IN THE ON-SCREEN DISPLAY (SHIFT + Z). CHANGING THIS SETTING WILL MAKE LOCATING YOUR MACROS EASIER & MORE ACCURATE. OPEN COMBATFS.CFG IN NOTEPAD. ADD THE LINE, DISPLAY_FRACTIONAL_MINUTES=0 UNDER THE [MAIN] HEADER LIKE THIS. [MAIN] |
|
Start M98toBGL & click the Mdl button. Find PK_P40 in the CFS Aircraft folder & open the Model folder. Select RAP40Gos.MDL & click Open. Now select P40_PK.air & click Open. This is what you should see.
|
|
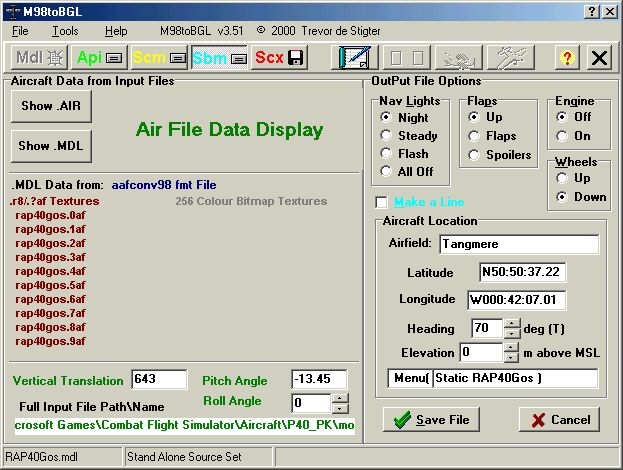
Click the blue Sbm button & it will look like this.
|
|
Type the following airfield name, co-ordinates & heading into the appropriate boxes.
|
|
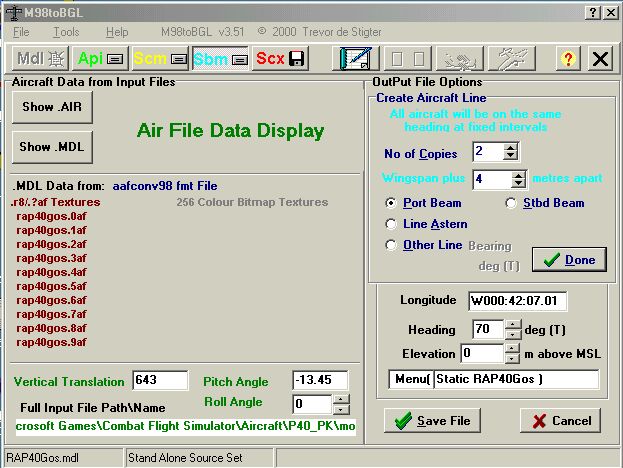
Now check the Make a Line box
The default setting will make a line of 3 aircraft 4 metres apart. The new P-40 macro plus 2 copies on the Port Beam (left side). These settings can be changed but leave them for now & click the Done button. Now click the Save File button. I suggest you rename the file from RAP40Gos.sbm. I've used RAP40Gos-1.sbm.in this example but you can use any file prefix you wish. Use a different name each time you wish to add the same aircraft to a new location or airfield to avoid any conflicts. |
|
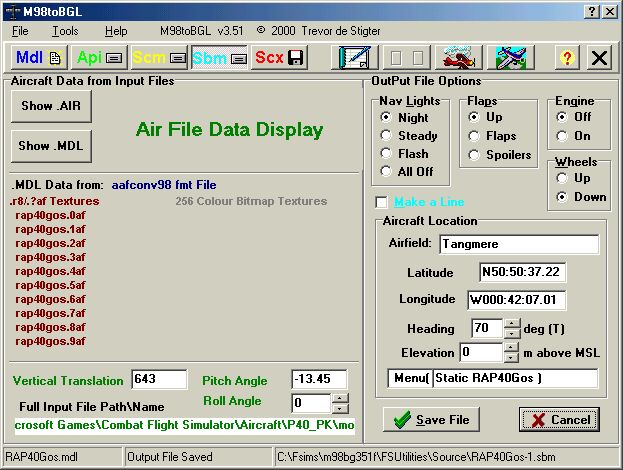
Save the file in the default directory. You should now see this screen. Note that some new buttons are active.
Click the red aircraft icon to create the BGL. Open the RAP40Gos-1.sbm file you just saved. |
|
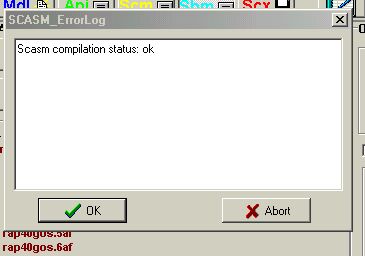
Wait a few seconds for this window to appear.
Click OK. Save RAP40Gos1.bgl to the scenery folder of the P40test folder in your Scenery Directory. That's it. Start CFS, go to Tangmere in Free Flight to see your new line of P-40s. |
|
|
|
Here's a few tips. If you wish to place the P-40 at another location or airfield, leave M98toBgl running. This will save a lot of work. You will only need to type in the new co-ords & heading before saving the file again & creating a new BGL. Remember to save the SBM files under a new name each time to avoid conflicts. If you create a new folder for your scenery in your Scenery Directory don't forget to copy the P-40 textures into it. |