Home | Search | Forums | Help | Upgrade to Premier Membership
|
Intro: Adding aircraft into all Flight Simulators is very easy. The same basic method has applied since the dawn of ... FS .. and FSX is not different.
OK Let's do it! |
||||
Lets assume:
|
||||
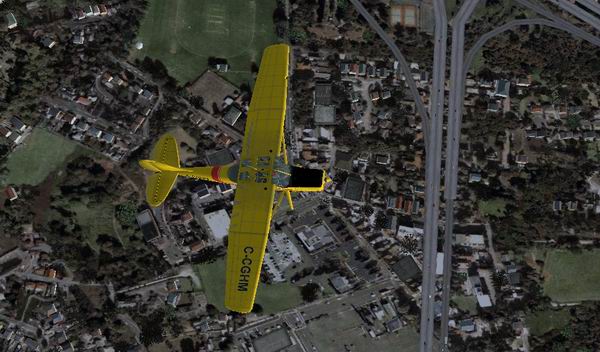
I'm chosing a typical problem free aircraft made for FSX. The Cessna L19 Bird Dog by Massimo Taccoli available here.
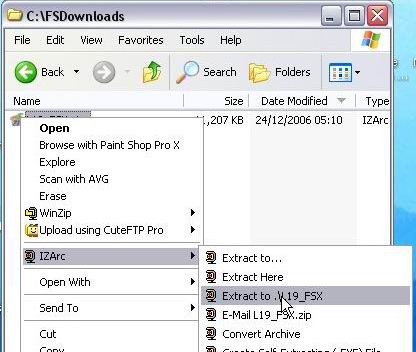
1. Download the aircraft into a folder on your PC. Create a folder specifically for FS Downloads. This keeps things neat and easy to clean up. I've called mine 'FSDownloads' 2. Right Click File & Extract to the same folder 3. You will now have a folder with the relevant files inside. |
||||
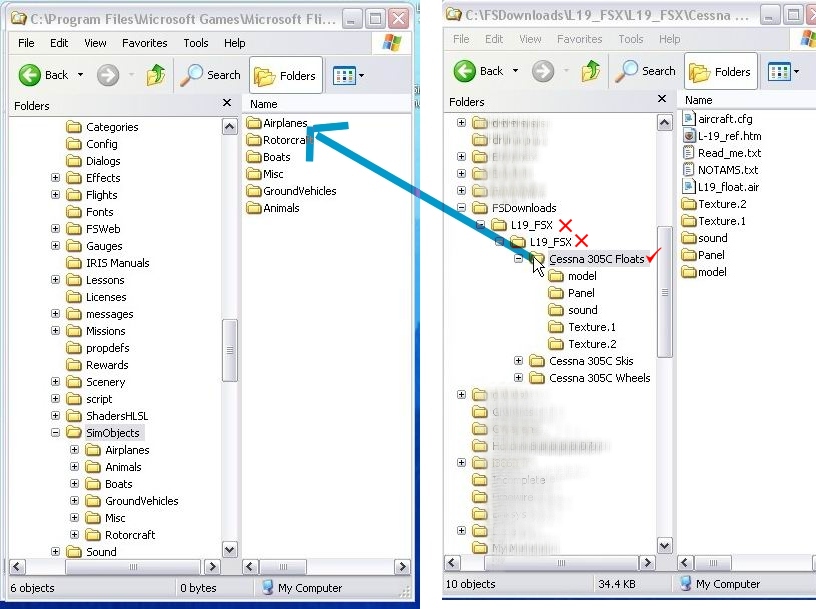
4. Open & size 2 folders on your screen. FSX (By default this will be in C:\Program Files\Microsoft Games\Microsoft Flight Simulator X and the download folder (FSDownloads). Using Windows Explorer (Right click folder - Explore) .. 5. Select the correct aircraft folder - containing 4 subfolders Model/Panel/Sound/Texture(s) 6. Move this folder (or copy & paste) into the SimObjects\Airplanes folder in the FSX directory.
The Aircraft should now be installed! -- & Hey presto ... it is .. :)
|
||||
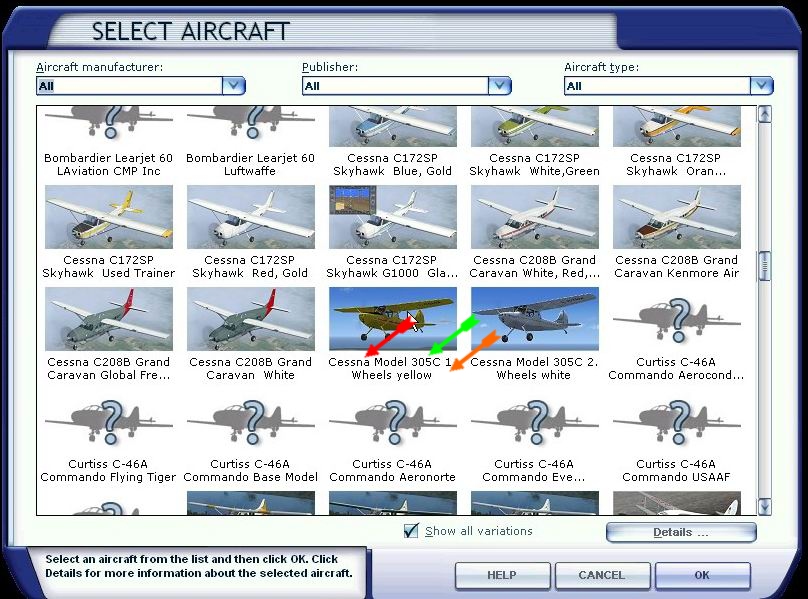
Can't see your new aircraft? 7. Check the aircraft.cfg file in your newly added aircraft and check these details
Under ui_manufacturer= you will know how to find your aircraft in the Select Aircraft menu in FSX
|
||||
Aircraft not showing up?
How to Alias Panel and Sound CFG files?
|
||||
Further Considerations: Gauges: If you have a Gauges folder, place the contents, i.e. the gauges (Not the folder itself) into the main Gauges folder in FSX (Or into the Panel folder of the relevant aircraft. Some Gauges from FS2004 & earlier aircraft are incompatible with FSX. Generally Allow the gauges where prompted. If they are totally incompatible you will get a message to tell you this and you may have a panel with missing or no Gauges. Effects: The same as Gauges. Place Effects in the main Effects folder in FSX Self Extracting Files: It is a good rule to extract these into a Temp folder. This way you will be able to ensure that all files will be installed correctly. Author's Readme: Always read this as it may contain specific and important information about the install and use of the aircraft such as starting, flying, etc |
||||